Master Gardener Wreath Making Class!!!
 Today I had a great time working,helping, and making my own Christmas Wreath at the Annual Master Gardener's Wreath Making Class!! Actually it's more of a Yule Wreath...very natural and rustic. Kind of like the people of old would have made to decorate their homes and commemorate Yule time! Take a look..smile. These how to instructions make use of a different type of form than the ones we used today. I personally like the metal ones with the little prongs best. Why? Well basically because you don't have to mess with extra wire, and the prongs easily clamp down onto the inserted greenery, holding it in place...It's just easier. However these directions are pretty similar to today's activities!!
TOOLS AND MATERIALS
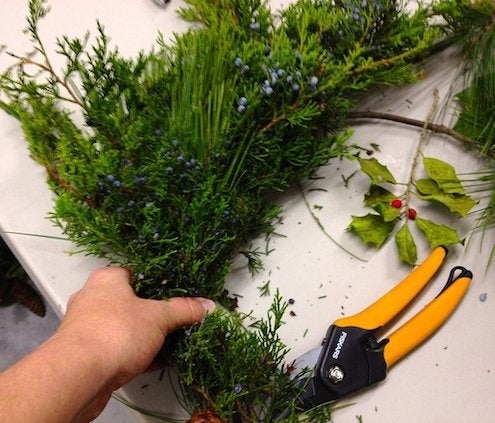
- Fresh evergreens, such as pine, holly, cedar, bittersweet, turkey beard, juniper, boxwood and many others. Be creative and use what you’ve got!
- Pruning shears
- Floral wire (on a roll)
- Heavier wire for a hanging loop (optional)
- Wreath form (You can either purchase one at a craft store or create one yourself with anything that will make a firm circular shape).
DIRECTIONS
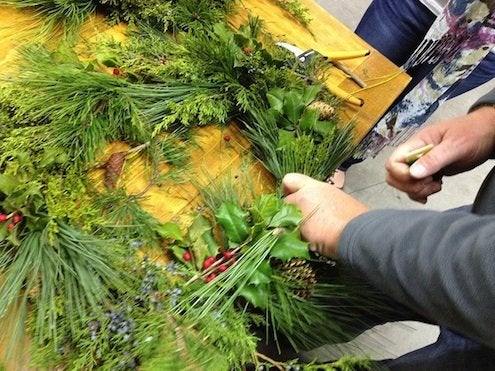
1. Gather Your Greenery. You can purchase your greenery or collect it from the yard. There are even many parks that will let you snip greenery, as they often need to prune back certain areas. Get pieces anywhere from 6″ to about 18″ in length. You can always trim later. Look to include interesting accents like berries and pine cones.

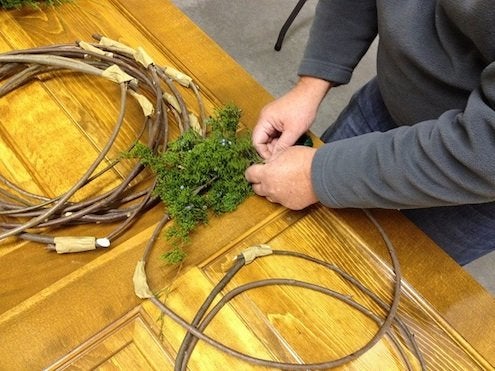
Bill starts this wreath with a piece of fresh cedar. Photo: Jennifer Noonan

Working around the form adding greenery. Photo: jencelene


Comments
Post a Comment